MENU


In architecture, daylighting is described as the controlled use of natural light from the outdoors in and around a home or building. It is the strategic method of placing windows and other reflective surfaces to provide the optimal illumination during daytime hours. For residential owners, daylighting with windows is an extremely important tool for creating an ideal living environment. Not only does it help meet the lighting requirements that homes need but also reduces the demand for electric or artificial lighting. In simpler terms, daylighting aims to maximize visual comfort and reduce energy consumption.
Glazing can be used to control glare and shading effectiveness. This is important in regulating solar heat gain, particularly if you want to install large-sized windows in your home. Insulated glazing units with low-E coatings can help you reduce winter heat loss and improve thermal comfort in your living space.
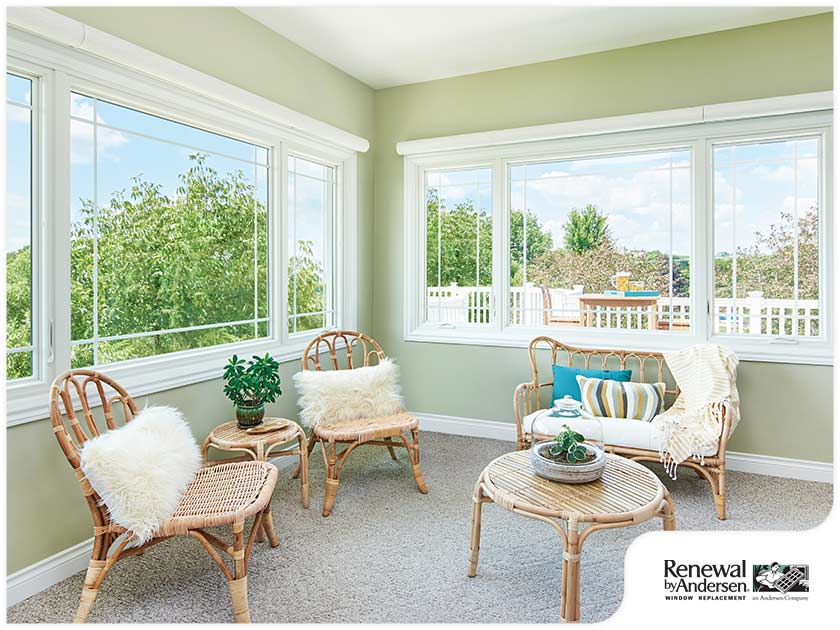
The fastest way to deliver adequate, uniform daylighting to your home and other smaller commercial buildings is to install nearly continuous strip windows. Punched windows let in enough light and are generally acceptable. However, the breaks between window units can create noticeable contrasts of light and dark spots in your home. This is not an issue if work areas are paired with windows or if necessary glare measures are carried out.
The main challenge of providing daylight using windows is to allow sufficient amounts of daylight as deep into the space as possible without creating glare. A zone with a light source that is shining too fiercely makes it uncomfortable for the eyes. Typically, tall windows like bay windows or elliptical or arched windows positioned above fixed windows are used to maximize light penetration.
The reasonable depth of a daylighted area is commonly 1.5 to 2 times the window height. This can be extended further with a reflective light shelf. A hallway that is well beyond this zone and separated with a partially glazed wall may be adequately illuminated with the light spill from the room. You can plan on adequate daylight within 20 feet from the window unit if your home has the standard window height (between 9 and 10 feet) and ceiling height (2.7 to 3 meters).
Avoid placing big windows with single-panes, such as picture and bay windows, near task areas or activity rooms since they can be a source of thermal discomfort for extended periods of time.
Keep in mind that the larger the glass area, the lower the required visible transmittance, which is defined as the percentage of visible light transmitted through the glass. Make sure to consider this value when choosing for the type of units, whether traditional or specialty windows, to install. In addition, select the glazing and window area to target an effective aperture around 0.30.
Adding light-colored features, like deep reveals and baffle ceilings, to your home helps keep daylighting more uniform. Interior walls and furniture pieces that showcase light paint colors, such as powder blue baby pink and off-white, can also enhance interior light levels.
Planning to install brand new and energy-efficient windows around your home? Turn to Renewal by Andersen® of Cincinnati for a smooth and stress-free experience. We offer a full range of premium window products — from custom-built specialty windows to traditional awning and casement windows — as well as professional installation services. Call us at (866) 609-5033 or fill out our contact form to set up an appointment. We work with residential clients in and around Loveland, Mason and Sharonville, OH.